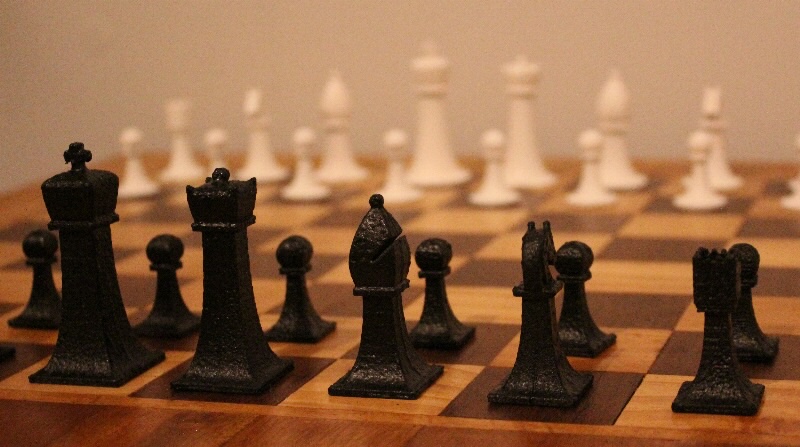
I’ve recently finished making a chess set.
In designing the 3d printed pieces that make up this chess set, I used my Haskell CAD framework: “Waterfall CAD”.
The idea behind the project was not so much to design one chess set, but to build a framework which could be used to generate many different chess sets. This is somewhat similar to an approach called “Procedural Generation”.
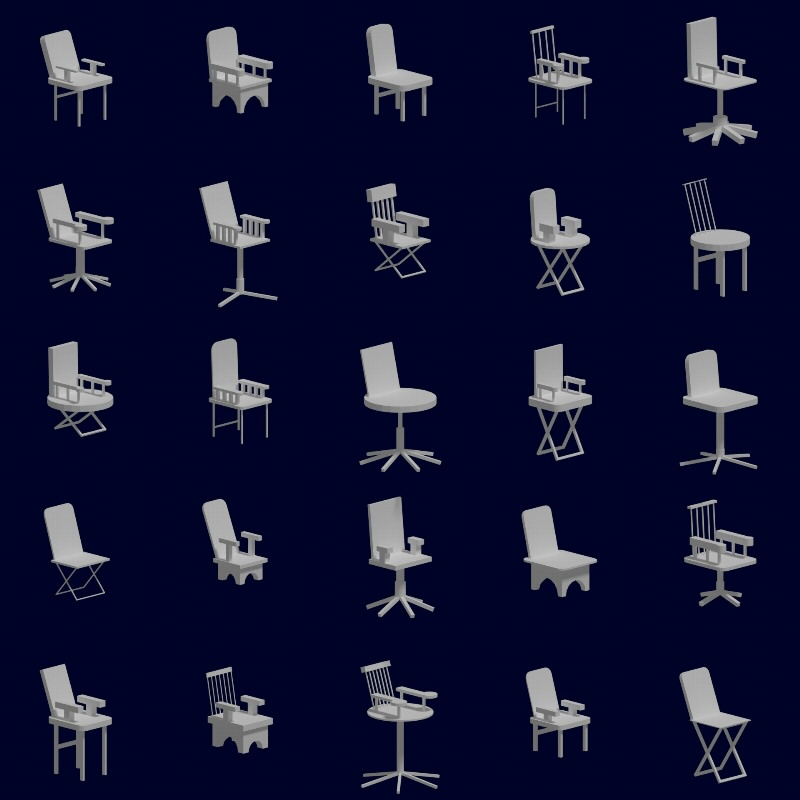
In the past, I’ve used procedural generation in a similar way to generate different types of chairs.
The distinction between procedural generation and this project, is most procedural generation projects use a random generator to make the output fully non-deterministic. I haven’t done that here, I’ve left this project as a toolkit for creating different chess sets.
The chess sets are parameterized in a bunch of different ways. The most significant one being how to convert a 2D profile into a 3d object.
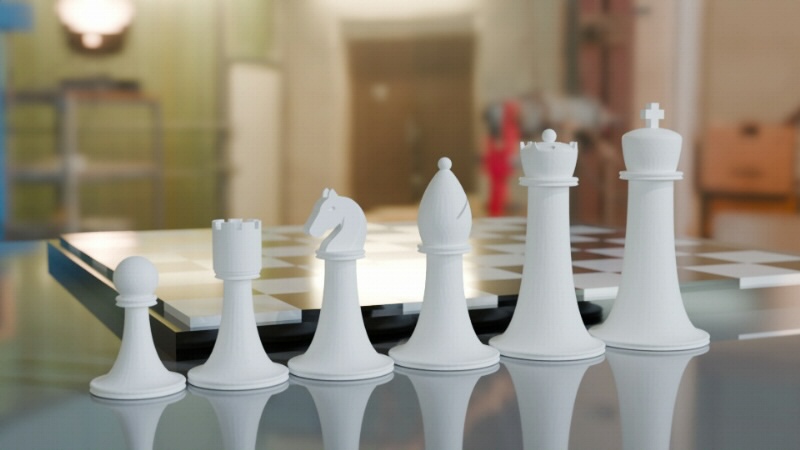
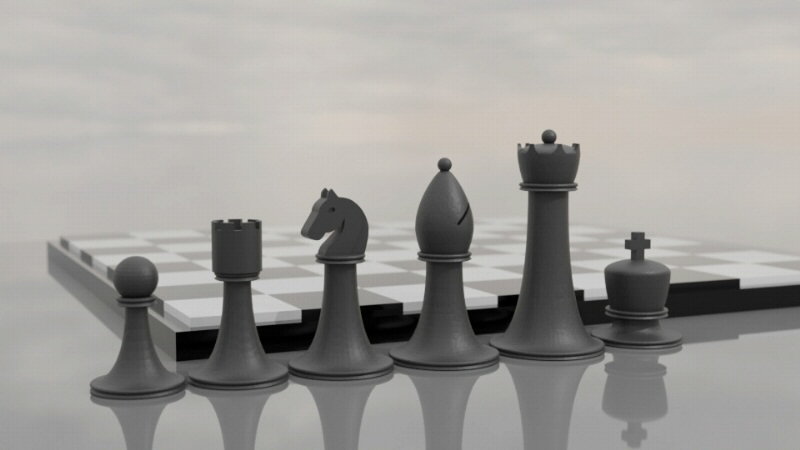
One way to do this is to create a “Solid of Revolution” using the Waterfall.Revolution.revolution function.
This gives you a chess set with a round horizontal cross section.
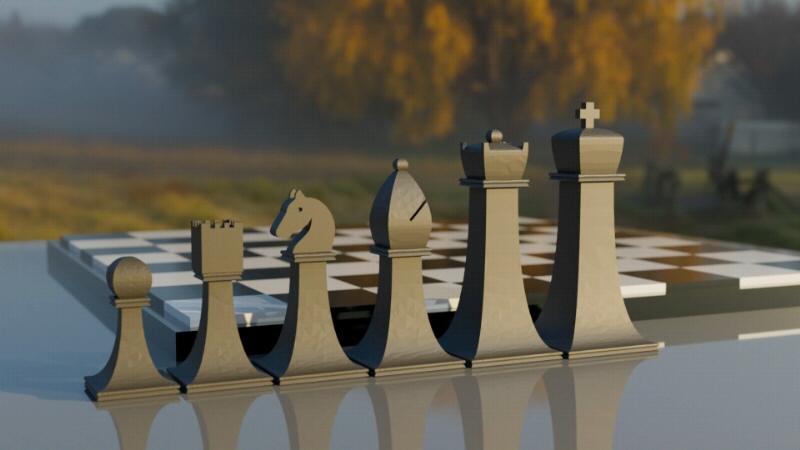
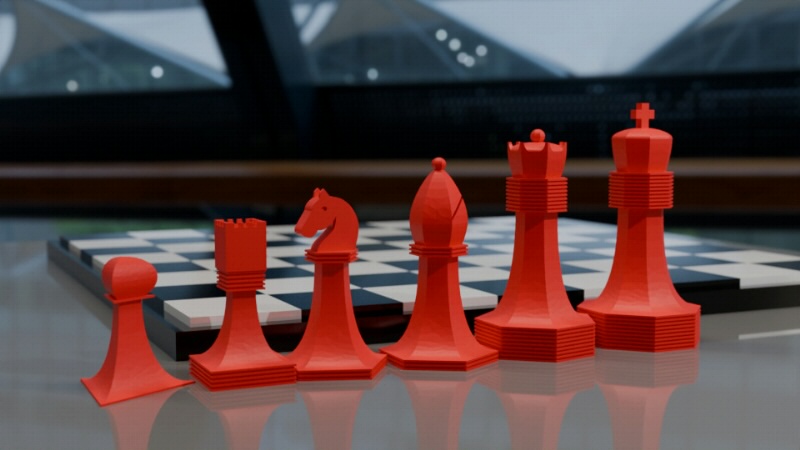
Another is a method uses a function I’ve called polygonize.
This takes a series of straight cuts of the profile, and uses them to construct a chess set with a polygonal cross section,
Each piece has two parts, a “base” and a “topper”.
The bases are all pretty much the same; they only really vary in size. They have a set of dimensions, which are linearly interpolated between the Pawn (the shortest) and the King (the tallest). This height, factoring in the size of the topper is used to generate a 2D profile.
It is possible to override the individual piece heights; for example if you want to make a (fairly stupid) joke.
We can use the revolution or polygonize function to convert our 2D profile into a 3D base.
Most of the toppers can be generated using the same function. They generally have small modifications on top of this, such as cutting the crenellations out of the Rook, cutting a slit in the Bishop’s mitre, or adding the King’s cross.
The only real exception to this is the Knight.
I designed the Knight’s topper by stacking a series of different cross sections 1. I think this looks fairly good, but it’s the one piece that I think has the most scope for improvement.
There are a bunch of things you can do with this framework, for example varying the number of sides used to polygonize each piece,
And notching each piece a different number of times that corresponds with the piece point value.
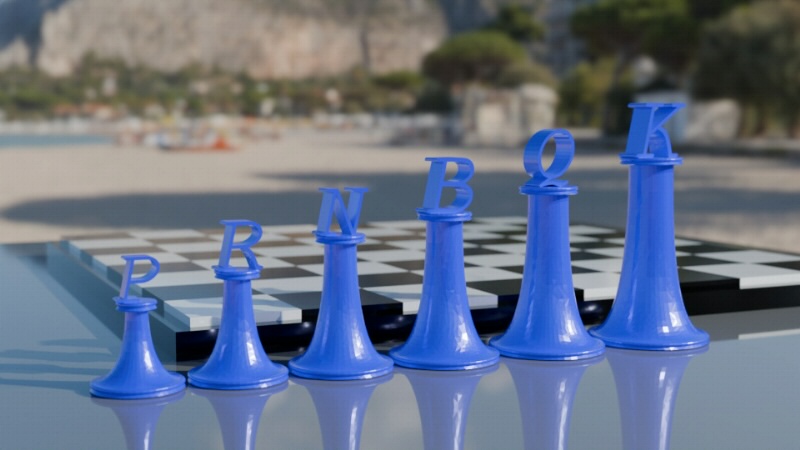
You can even swap out the toppers completely, replacing them with something else, like the letter used to represent each piece in chess notation:
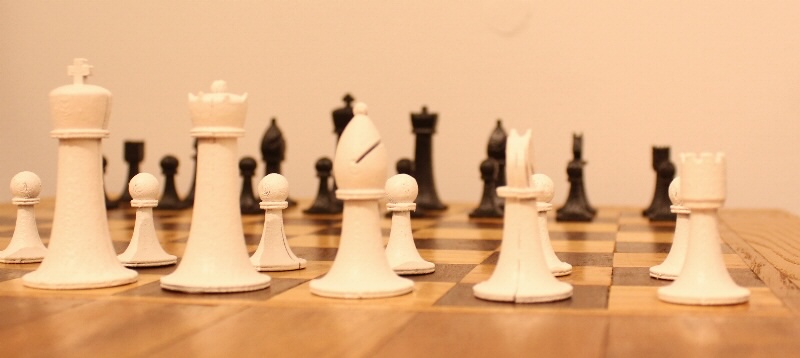
I’ve printed and painted a full chess set designed with this framework.
I printed it in PLA, with the pieces split vertically to reduce overhangs.
It’s worth pointing out that I’m printing on an 8 year old Prusa mk2 2, and I did a fairly terrible job of painting them. So I think it would be quite easy for someone to take these designs and wind out with a much nicer chess set than the one that I have 3.
I’ve uploaded STLs to both Thingiverse,
and Printables.
However, if you’re interested in the project, I’d encourage you to check out the repository, and try tweaking the parameters yourself.
A good place to start is probably Sets.hs.
Initially, I’d tried to design this using lofts. Lofting is a design method that comes from boat-building, and uses smooth projections between fixed cross sections. Unfortunately I couldn’t get this to look nice.↩︎
This was a great printer when I got it, and I’m relatively proud of the condition that it’s in, but I can’t claim that it’s cutting edge.↩︎
I think these would look great in resin; please let me know if you have a resin printer and fancy making a set.↩︎
